Most of the outer loop is ballasted - just have one outstanding grade crossing to complete (and that's really more about getting the road and grade crossing beams installed than anything else.
I should write that I am done installing the ballast. What remains now is more properly classed as 'clean up'. Going back over my earlier work - especially the first loop that I did - I see that I did a pretty bad job. So bad that in some cases the ballast is impacting the operation of the trains. So....I'll need to go over each rail and scape off excess ballast. It'll give me a change to check the rails as well - there are still a couple of spots that are giving me problems like uncoupling and occasional derailments.
I'm starting on some of the landscape now as well. There are some very simple areas that can be knocked out quickly. (bare stony ground with scrub vegetation). I'm experimenting with the grassy areas. Most of my prior work was on much smaller areas and in much smaller scales. I need to adapt to the level of detail S gauge trains require.
Showing posts with label ballasting track. Show all posts
Showing posts with label ballasting track. Show all posts
Sunday, December 8, 2013

Tuesday, August 27, 2013
Tales from the track gang...
The ballasting continues. I've got it down to a routine set of steps and its made a big difference. I finish the second loop of track today, which leaves me with the outer loop and the 'north' yard to deal with. That's not too bad considering that all the track is not yet in the north yard yet.
A pictures worth a thousand words, so here are some photos of the recent progress.
A pictures worth a thousand words, so here are some photos of the recent progress.
 | ||
| The south yard with the inner and middle tracks ballasted. |
 | |||||
| The north yard. Still work to do in the gaps between the different loops. |
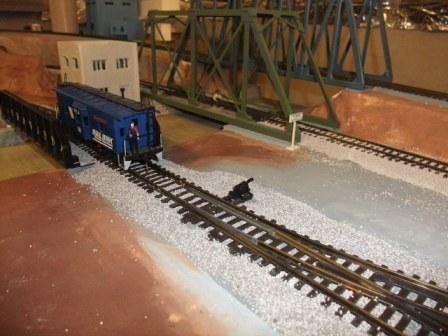 |
| The inner track with a caboose for scale purposes. |
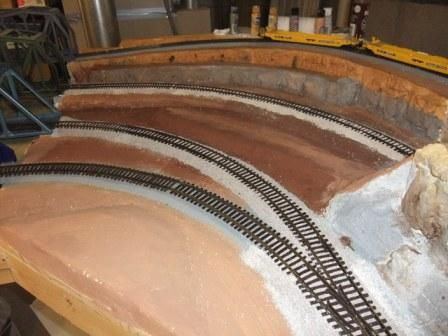 |
| The middle two tracks are ballasted. |
Sunday, July 28, 2013
If I knew what a pain ballasting track is...
I would not have laid so much track!
At least I started. And as with so many things, doing something new means learning how to do it. I've used Woodland Scenics flocking material before, but not in a challenging setting like railroad track. First you've got to get the glue on the sides of the roadbed, they apply ballast, the apply ballast between the rails. Then smooth it all out. Then apply a wetting agent and then apply the glue. You do this for about one or two feet of track.
Then you get to start over.
I'll add some pictures of the finished ballasting. I'm sure it will look good when finished.
By the time I'm done, I should be a real ballasting expert.
At least I started. And as with so many things, doing something new means learning how to do it. I've used Woodland Scenics flocking material before, but not in a challenging setting like railroad track. First you've got to get the glue on the sides of the roadbed, they apply ballast, the apply ballast between the rails. Then smooth it all out. Then apply a wetting agent and then apply the glue. You do this for about one or two feet of track.
Then you get to start over.
I'll add some pictures of the finished ballasting. I'm sure it will look good when finished.
By the time I'm done, I should be a real ballasting expert.
Subscribe to:
Posts (Atom)