The Roster

Tuesday, January 7, 2014

Progress on Ridgeville

I've spent some time on the basic landscaping for Ridgeville and thought it might be instructive to provide some 'before and after' images to show how much has actually been accomplished.

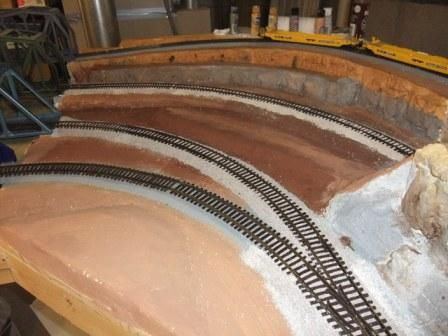
Ridgeville at some point in either late 2012 or early 2013. 
As you can see, the framing is in place and the contouring was underway. The rock face is not yet installed, nor are the tunnel approach retaining wall or portal. The image does show the outer loop on the left after the 'great re-grading' rebuild that required lowering the grade - and the height - of the outer loop on the north end of the layout.


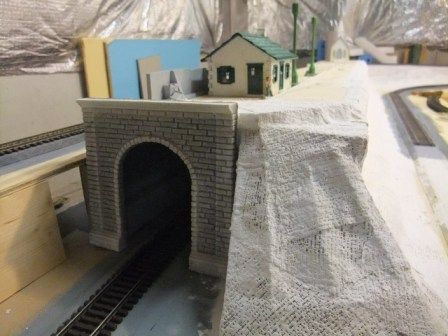
With the south tunnel portal rough fit to the layout

In the next image, we can see that the tunnel portal from Pre-Size fit in place to get a sense of how it fits with the landscape. In a word - its too big. It should not tower up over the tunnel as much as it does. Looks like I'll need to raise the upper deck of the tunnel.

So, how did it turn out? Well...let's take a look at the current state of affairs in Ridgeville.

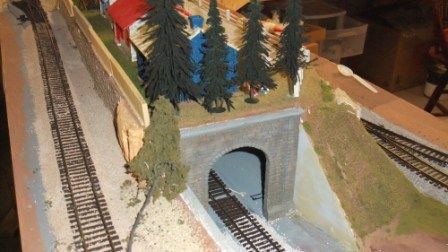
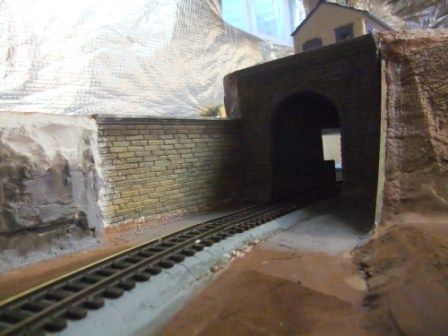
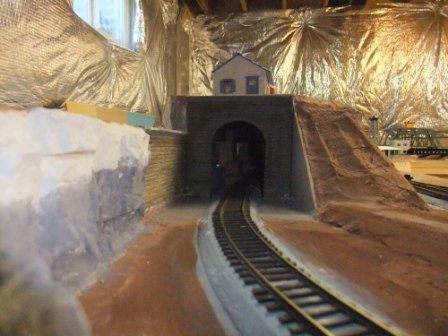
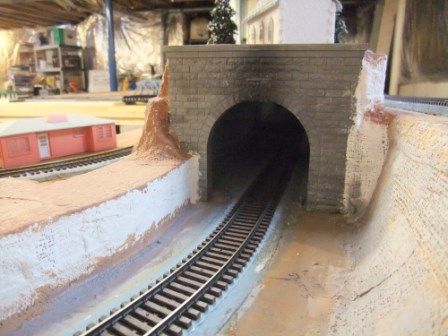
Ridgeville at the west tunnel portal
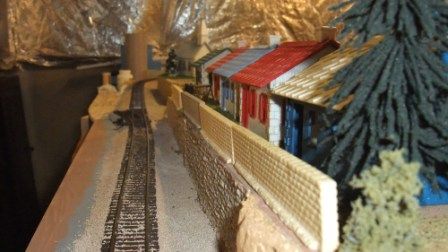
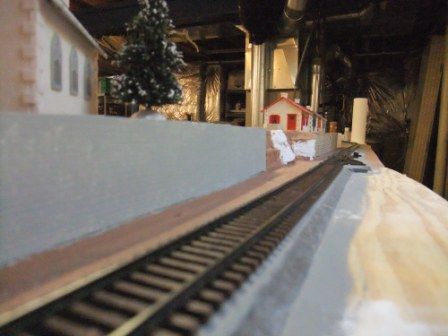
I've gone back and added another layer of homasote on top of the other layer to raise the landscape up to the level of the portal. The tunnel portal and the retaining walls are installed. I've begun to flock the land. Four medium pine trees screen the houses from a direct view of the rails and help break up the sight lines. I've installed the brick walls that keep kids from falling onto the track of the outer loop.

A short to the east along the north  (backyard) face of Ridgeville.

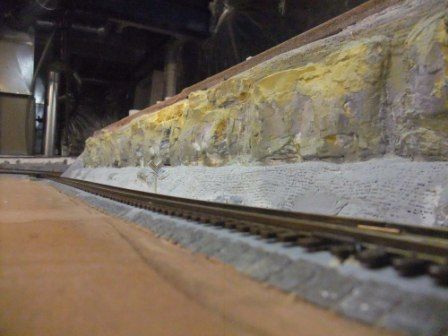
The southwest face of Ridgeville.

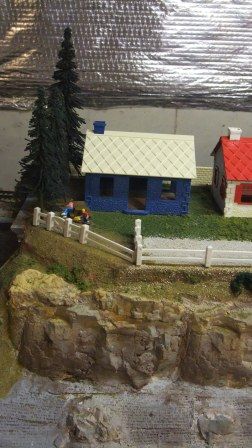
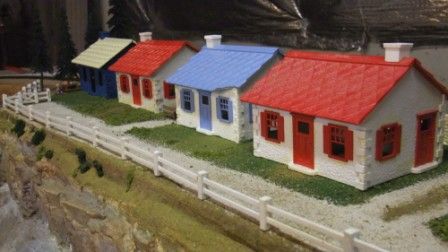
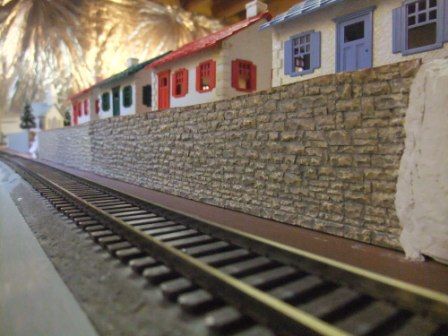
South face of Ridgeville. The houses are old bargain bin Plasticville all in need of work. The fence is Plasticville as well.
Hey! I'm actually making progress here! A few more days and the basics of Ridgeville will be complete.

But that missing bridge still bothers me.

Wednesday, January 1, 2014

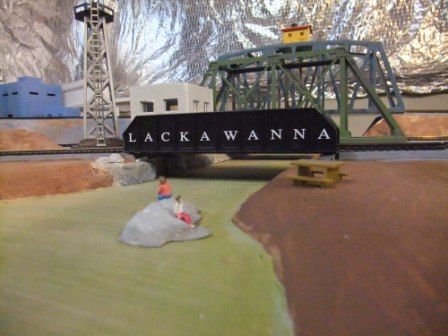
Ridgeville needs a bridge

As I've worked to layout the community of Ridgeville, one thing that keeps bothering me is how its isolated from the model 'real world'. There it sits on the ridge with no visible road providing access. I need to install a bridge, even if it just leads "off the layout".

It should be a small bridge befitting the isolated and lower income nature of Ridgeville. I'm leaning toward using the Plasticville covered bridge because a.) I already have one and b.) its not uncommon to find small bridges of a similar type used as overpasses for the railroad tracks.

But to get the clearance over the adjacent tracks, there has to be one heck of a steep approach road to the brigde. Like something with a 30% grade. Its steep - and steep enough to confine traffic to cars and light trucks. Which is perfect for Ridgeville.

So now I'm shaping styofoam to build the approach ramp into town and trying to figure out how to squeeze it onto the ridge without cutting the church off from the community. I'll try and post some pictures in the next week or so.

Sunday, December 8, 2013

Springfield, Ohio "All Trains" train show

The Springfield train show was held on December 1st, 2013 at the Clark County Fairgrounds outside Springfield, Ohio.  I've got to say, for a five hour event with very few operating layouts, this is rapidly becoming one of my favorite shows of the fall train season. Partly, I think it's because all I have to do is shop and socialize, unlike the other shows where I'm 'working' the MVSG train layout

This year I found some great bargains on out of production Showcase Line (S-Helper) cars and a good deal on a American Models box car. Beyond that I purchased some old Plasticville fencing material (the white two-rail section fence) that is a great border for the residential community of "Ridgeville" on the layout.

Time to get back to work - there's track to be cleaned!

The ballasting nears completion!

Most of the outer loop is ballasted - just have one outstanding grade crossing to complete (and that's really more about getting the road and grade crossing beams installed than anything else.

I should write that I am done installing the ballast. What remains now is more properly classed as 'clean up'. Going back over my earlier work - especially the first loop that I did - I see that I did a pretty bad job. So bad that in some cases the ballast is impacting the operation of the trains. So....I'll need to go over each rail and scape off excess ballast. It'll give me a change to check the rails as well - there are still a couple of spots that are giving me problems like uncoupling and occasional derailments.

I'm starting on some of the landscape now as well. There are some very simple areas that can be knocked out quickly. (bare stony ground with scrub vegetation). I'm experimenting with the grassy areas. Most of my prior work was on much smaller areas and in much smaller scales. I need to adapt to the level of detail S gauge trains require.

Tuesday, August 27, 2013

Tales from the track gang...

The ballasting continues. I've got it down to a routine set of steps and its made a big difference. I finish the second loop of track today, which leaves me with the outer loop and the 'north' yard to deal with. That's not too bad considering that all the track is not yet in the north yard yet.

A pictures worth a thousand words, so here are some photos of the recent progress.

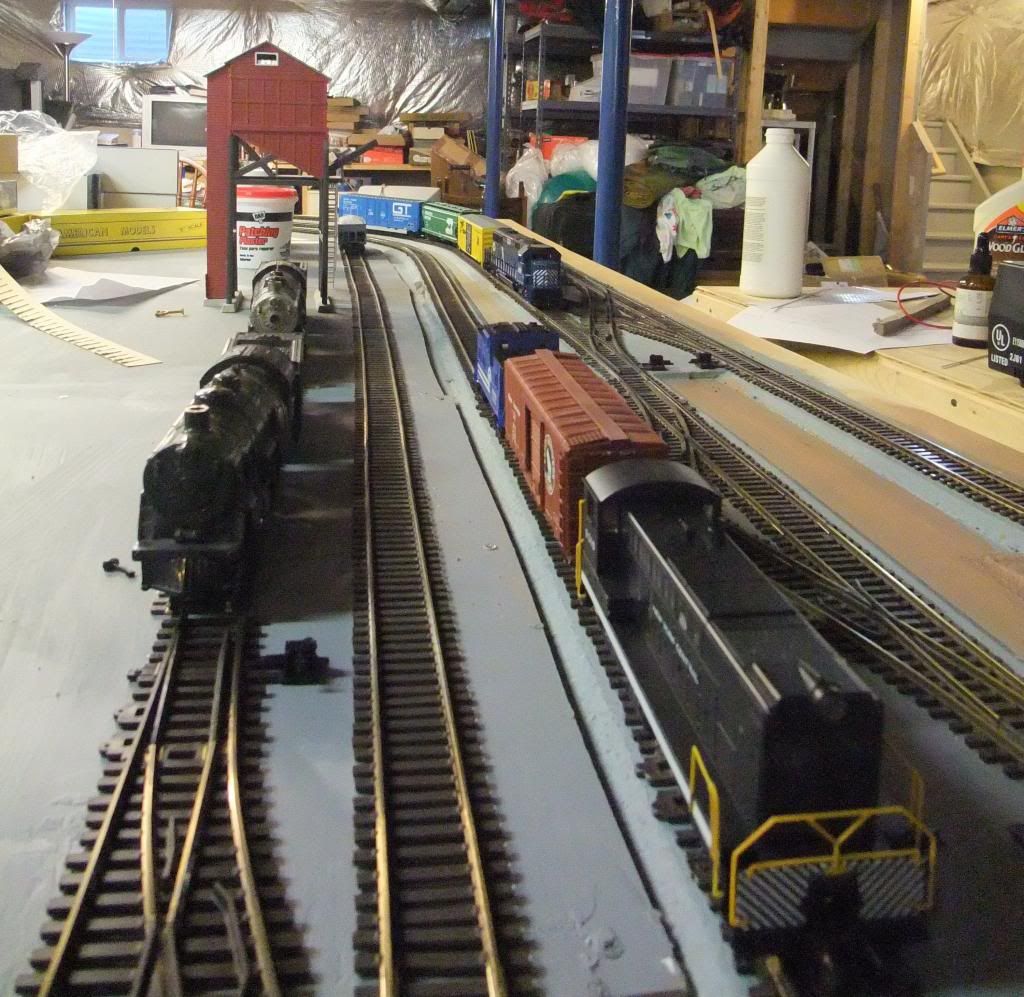
The south yard with the inner and middle tracks ballasted.


The north yard. Still work to do in the gaps between the different loops.


The inner track with a caboose for scale purposes.


The middle two tracks are ballasted.


Sunday, July 28, 2013

If I knew what a pain ballasting track is...

I would not have laid so much track!

At least I started. And as with so many things, doing something new means learning how to do it. I've used Woodland Scenics flocking material before, but not in a challenging setting like railroad track. First you've got to get the glue on the sides of the roadbed, they apply ballast, the apply ballast between the rails. Then smooth it all out. Then apply a wetting agent and then apply the glue. You do this for about one or two feet of track.

Then you get to start over.

I'll add some pictures of the finished ballasting. I'm sure it will look good when finished.

By the time I'm done, I should be a real ballasting expert.

Thursday, June 20, 2013

We want...another shrubbery! (or at least work on the layout)

No, no shrubbery yet, but I've made progress since the last post. Mostly laying down a base coat of paint and,  getting tunnel portals installed and painted and some miscellaneous track laid in the south yard.

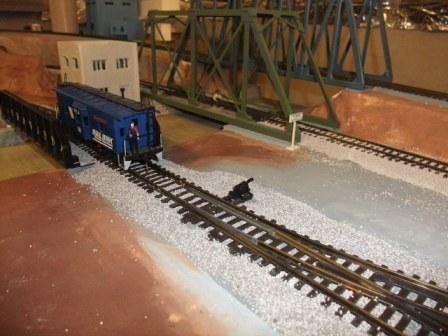
The north yard viewed from the west. The base paint coat provides some character and defines the stream.


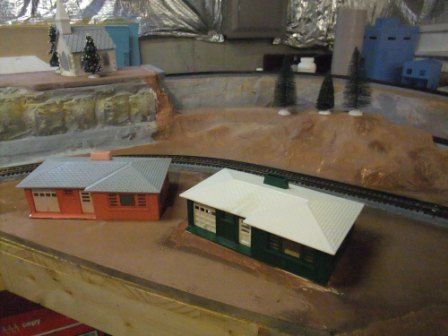
Two Plasticville ranch homes provide some color.


A woman with two kids awaits a train.


The south portal.


Different view showing the tunnel runs under 'tracked ridge'.


The cut on Tracked Ridge.


Looking back at the previous photograph from the north.


The North Portal. (And repuposed Lionel portal, cut down to S.)


The ranch homes are in the curve in front of the north portal.


The Long Cut on the east face of Tracked Ridge.


The south yard now has its first staging track installed. (The one of the left is temporary floating track.)